
T.O.M. 2021
This year, as you make your Technique of the Month blocks, you'll make one and keep one. For each month, make TWO 6.5 inch square blocks using as many techniques as you like. Keep one block for yourself and have blocks set aside for a guild block.
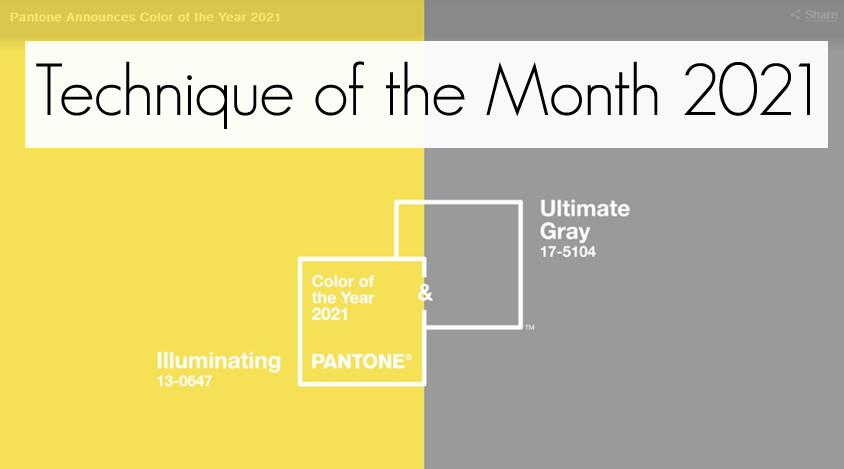
Use the Pantone fabric colors (pictured above). The match doesn't have to be perfect, but please keep it close.
We'll collect them at the end of year and make a whole quilt from the blocks.
July 2021
- Bias Tape BlocksTake a look at these two techinique videos for how to apply to your fabric
- https://www.youtube.com/watch?v=NiV3ziE4pOU
- https://www.youtube.com/watch?v=4RinV55gyDE
June 2021
- TOM - Thin lines
- Learn how to do this technique with our Pantone colors.
- If you have previous TOM blocks, please bring them to the meeting.
- Here's an example technique.
April 2021
Letter or Monogram Applique!
- Supplies
- Fabric
- Pencil
- Fusible material
- Scissors
- Stabilizer
Use a free hand font or one from any application. You can also find online fonts such as at DaFont.com.
Print to size. You can use 250 pt font to fit a 6 inch block. Trace it in reverse on your fusible. Press following instructions from your fusible webbing. Trim your letter out, peel the paper, position and press on your block. use a stabilizer on the back and stitch your letter down. Ideas could be raw edge, satin stitch, or blanket stitch. 


February 2021
This month, it's Stamping!
DYI Stamping:
- Supplies
- Stamp ink: Use ink for fabric or add a medium for fabric Medium can be found at craft stores.
- Stamp carving kit: Speedy carve or Speedy Cut kits can be purchased from local craft stores or online.
- Brayer/ Roller: for inking the stamps
- Process
- Draw your design on the stamp with a pencil.
- Carve out your design. Remember: What you carve out won't be inked and will be printed on reverse on your fabric.
- Ink your stamp with a brayer/roller and make the paint thin
- Mary does not recommend gluing on a wood block as it makes the stamp inflexible
- Have fun! - Random, interspersed, or all over!
Home Supply Stamping:
- Supplies
- Stamp ink: Use ink for fabric or add a medium for fabric Medium can be found at craft stores.
- Items from your house
- Ideas: Pizza triangle stands from take out pizza
- Pencil erasers
- Forks
- Plants
- Stamps you have laying around
- And more!
- Dip and blot or use a brayer/roller to apply the ink.
- Keep the ink thin and have fun with your designs!

January 2021
This month is all about Texture!
We shared a number of techniques - Bubble, Pleat, Shrink, Bubble Wrap
We shared a number of techniques - Bubble, Pleat, Shrink, Bubble Wrap
Bubble
This is a "push through" technique that you stabilize.
1- Use a 12 x 12 piece of fabric
2- Wet the fabric and wring till damp
3- Starting from the center, push through, holding the central places and you go around
4- After you've pushed through, let dry
5- Apply stabilizer on the back. You can choose to sew between your bubbles to help stabilize.
6- Choose your finish - add borders, reverse applique or trim to size
See more at this video

Pleat
- Start with a larger piece - 10 to 12 inches
- Regularly (or irregularly) place your folds and stitch down
- Then, go in the opposite direction of fold, stitch down for more defition
- Experiment with your designs!

Shrink
- Using Chizimi shrinking thread, sew a desired pattern on your fabric.
- After you're done, expose your fabric to steam
- We didn't have an exact size on this, try starting with a 9 inch square fabric block

Bubble Wrap
- You can start with a 6.5 inch square fabric on this one.
- Apply a dye to the bubble wrap - use fabric dye or acrylics.
- You can use a brayer, paint roller, or experiment. Make sure it's color fast.
- Let it dry and fix as per ink instructions


No comments:
Post a Comment